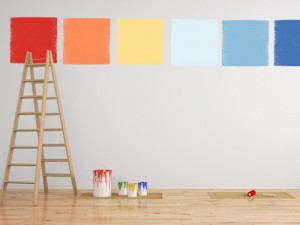
The cool fall air has set in and the leaves are falling. The fall is the perfect time for interior painting. With the windows open, interior painting projects are well ventilated and a fresh coat of paint can be applied just before guests arrive for the holidays.
If your a DIY painter, here are some tips to make the best use of this colorful time of year.
 Start off by selecting color cards are your favorite home improvement store. Plan your color scheme and purchase paint prior to starting your project. To get a durable more family proof surface select a 100% acrylic latex paint in a glossier finish. This will make clean ups a breeze.
Before you start painting, move furniture away from the walls covering them will a plastic drop cloth. To save money use an old bed sheet. Clean the surface of the wall and patch any holes. Remove your outlet and switch covers. Then use blue painters tape to make use paint does touch any unwanted surface such as wood floors, carpet or molding.
Now that all of your prep work is completed ahead of time you can begin painting.
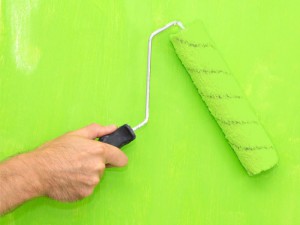
 Conquer the largest part of the wall first. It will cause instant gratification and make your time painting go more quickly.Apply a 3 to 5 inch strip of paint where the wall meets the ceiling, windows, door frames or molding. Roll on the paint in 3 X 3 sections. Apply the paint in “W” pattern, then fill the W with horizontal strokes. To establish your edges use an angled trim brush.
If plan to paint the trim, it’s usually best to do that the next day. However, if you started painting very early in the morning and the walls are completely dry, it’s okay to move right on to that part of the job.
Start painting the trim on the wall you started on. Also remember to apply painters tape above and below trim to give you a neat and clean finish.
Using an angled brush, work top-down, painting crown moldings and chair rails (if any) first. Likewise, paint doors and windows from top to bottom, so you can smooth out any drips as you go. Finish by painting the baseboards.
